1. | Open the MySQL Administrator and connect to the MySQL server.
You only need to connect as a user with permission to access the database you'll be restoring.
|
2. | Click Restore.
|
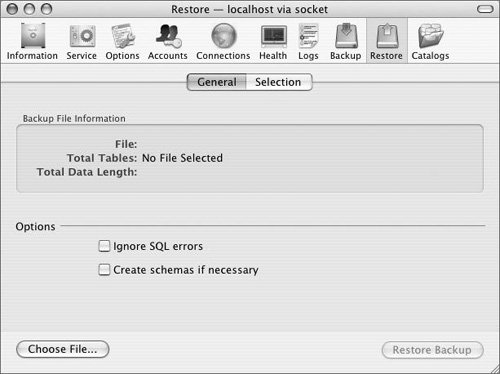
3. | Click Open Backup File (Windows) or Choose File (Mac OS X, Figure 13.11) to select the backup file.
|
This application takes the data stored in a text file and inserts it into a table. Like mysqldump, it's run from a command-line interface.
The syntax for using mysqlimport is
mysqlimport -u username -p databasename '/path/to/filename.sql'
With mysqlimport, there are two assumptions: first, that the table the data is being inserted into already exists; and second, that the text file containing the records to be inserted has the same name as the table.
The mysqlimport utility is actually just an implementation of the LOAD DATA INFILE without directly using the mysql client. I discuss this SQL alternative in a separate sidebar.
|
|
| |
4. | Select the file to use.
The button clicked in Step 3 creates an Open dialog box for you to select the source file on your computer. This file should be the one created by the Backup pane in the preceding section of this chapter.
|
5. | On Windows, choose the target database ( Figure 13.12).
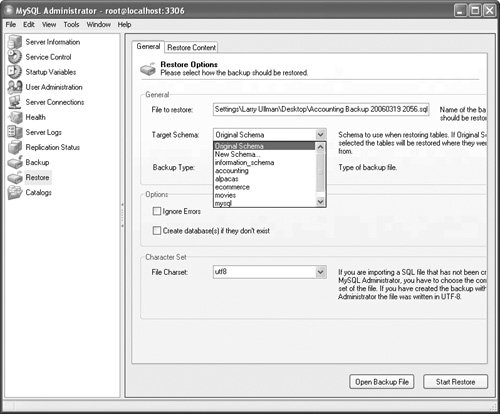
Windows users have the option of restoring the data to the original database (or schema) or to another one.
|
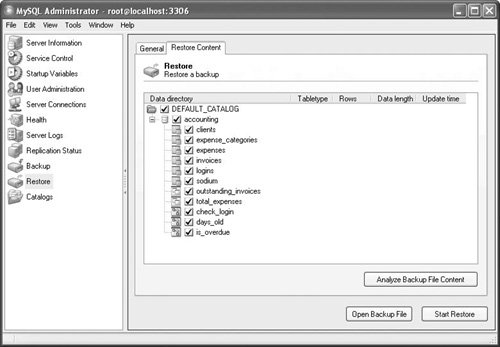
6. | Click Restore Content (Windows) or Selection (Mac) to customize the restoration.
You can choose to back up specific tables instead of the entire database. On Windows, you'll need to click Analyze Backup File Content to see the list of tables ( Figure 13.13).
|
7. | Select the tables you want to restore.
By default, all of the tables are checked. Just uncheck a table to not restore its data.
|
8. | Click Start Restore (Windows) or Restore Backup (Mac) to restore the data.
|
 Js editor
Website development
Js editor
Website development